
O-5-116 Company Mileage and Expenses Inputting
🎯 PURPOSE
This process gives the steps needed for an employee to input an entry for reimbursable mileage or a reimbursable expense via CompanyMileage.
🔄 PROCESS
| Table of Contents |
|---|
| Enter Mileage Reimbursement Request |
| Enter Expense Reimbursement Request |
Enter Mileage Reimbursement Request
-
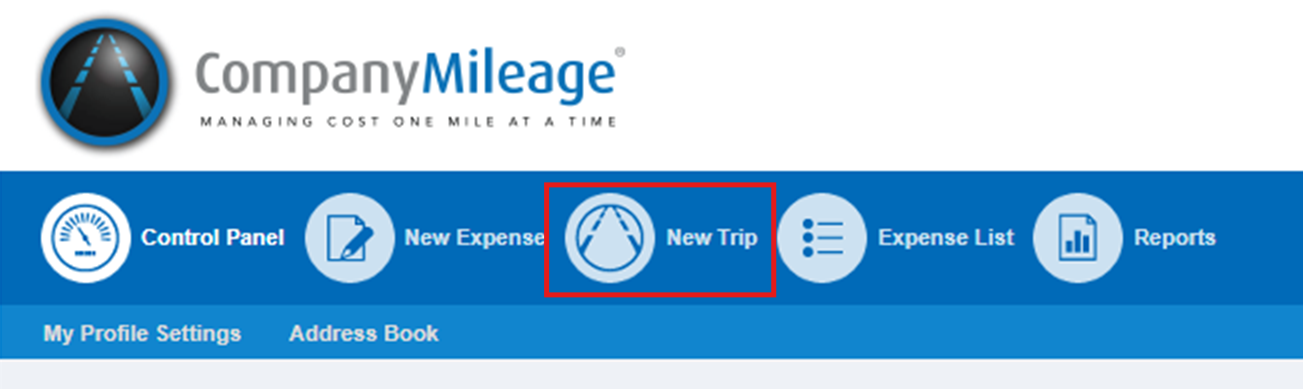
After logging into Company Mileage at www.companymileage.com, select New Trip.
-
A new screen asking for details of the trip will load.
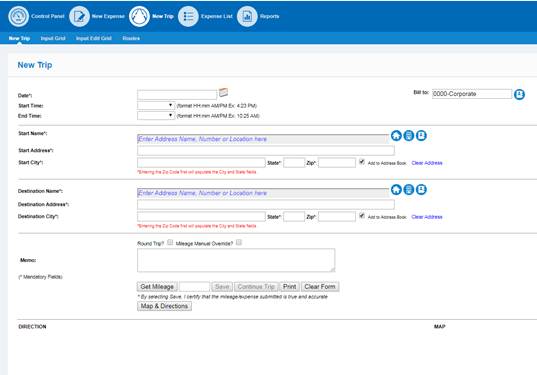
- Enter the date of the trip.
- Skip the Start and End Time fields; these are not needed.
- Enter the address you are starting at.
- If travel is from a client's home, start typing the client’s name. When you have located the correct client, select their name and their address will automatically populate.
-
Alternatively, on the right are three icons (home address, work address, address book). For faster inputting you can select the icon and it will input the selected address.

- When Home is selected, the system will automatically deduct 10 miles to account for that deduction when traveling to/from home.
- If you have an address that is not in the address book you can manually input it, then check the box to the right of the zip code to ‘add to address box’. It will then be saved in your personal address book.
- Select Get Mileage.
- Select Continue Trip if you have more clients to add.
-
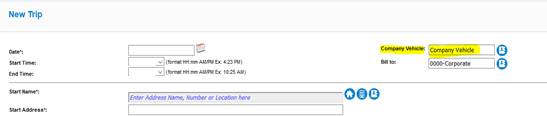
If you have a company vehicle be sure to select “company vehicle”.

11. Save when you have completed all necessary fields.
Enter Expense Reimbursement Request
-
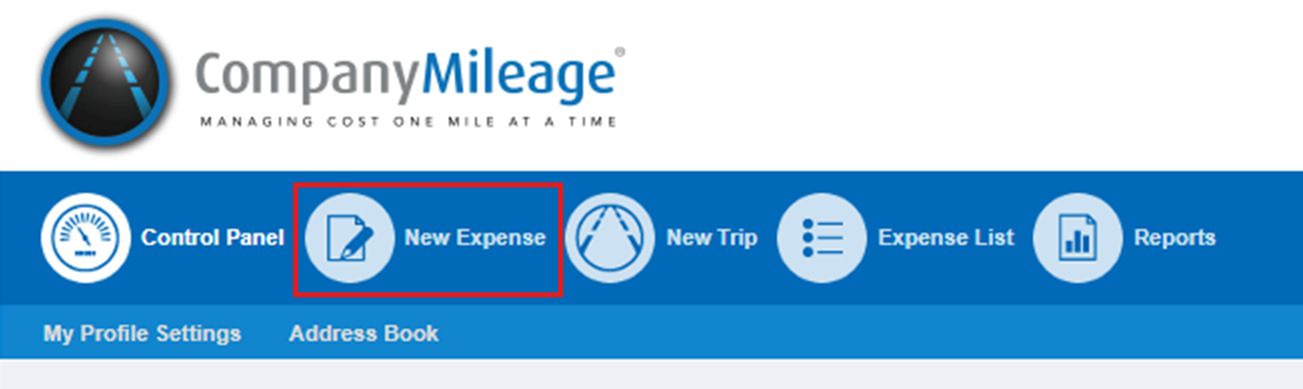
Select New Expense.
-
A new screen asking for details of the expense will load. Complete the following fields:
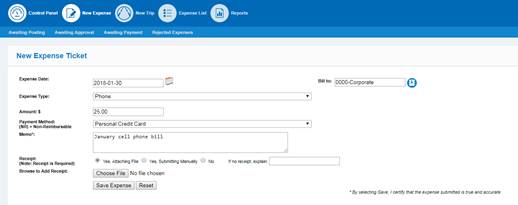
Example - Expense Date: Enter the date expense was incurred.
- Expense Type: Choose from the drop down box.
- Amount $: Enter the amount of the expense.
- Payment Method: Choose Personal Credit Card or Other.
- Memo: Enter description of expense and amount.
- Receipt: Choose one of the options.
- If selecting Yes, Attaching File, click Choose File and upload the appropriate file.
- If ‘No Receipt’ explain why in the box.
- When all necessary fields are completed, save the expense.
-
Next, select Awaiting Posting.
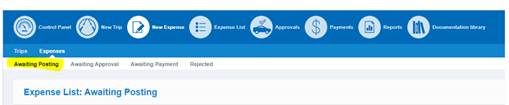
- From the expense list that loads, select any expenses that are ready to submit for payroll processing.
- Finally, click Submit Expense(s).
📅 Effective: 02.06.2018 | 🛠️ Revised: 11.13.2026 | ✅ Approved: JFJ