
O-5-600 Send Fax via Zoom
🎯 PURPOSE
Outlines the process for a back office user to send a fax using the Zoom application.
🔄 PROCESS
- Open the Zoom Workplace desktop app and sign in.
-
Click the Phone tab on the left sidebar:

-
Under Phone, select the Fax tab:

-
Click the + New fax (or +) button to create a new fax:

-
In the To field, enter the recipient's fax number:

- This can be a contact name or just a fax number.
- What shows on the cover sheet depends on what you enter:
- If you select a saved contact: their name appears in the To field.
- If you enter only a fax number: only the number appears (no name)

NOTE: There is no separate editable “To Name” box on the send fax screen. You cannot manually override the recipient’s name directly on the cover sheet while sending
-
(Optional) Select the From number from the dropdown — this can be your personal Zoom Phone line, a shared line group, auto receptionist, or call queue (if you have access):

-
Add a cover page if desired (customizable in most cases).
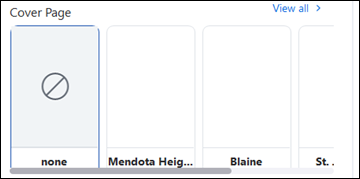
If the fax includes PHI, ensure a cover page is added.
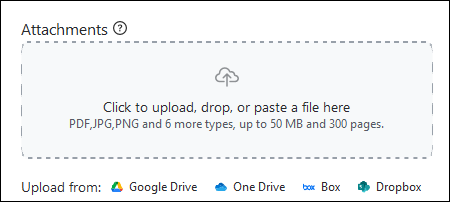
- Attach your document(s):
-
Click Upload, drag and drop, or use Zoom's file picker for cloud storage (e.g., Google Drive, Dropbox):
-
-
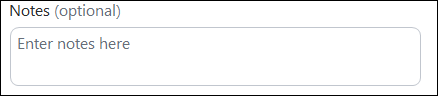
(Optional) Add a subject or note in the body. Do not include PHI.
-
Click Send:
📅 Effective: 10.21.2026 | 🛠️ Revised: N/A | ✅ Approved: JS