
O-2-114 HealthShare Referral Manager (HSRM)
👤 RESPONSIBLE POSITION | ROLE
Elig/Auth Coordinator | Authorization Specialist
🎯 PURPOSE
HealthShare Referral Manager (HSRM) is a secure, web-based system VA uses to generate and submit referrals and authorizations to community providers. HSRM allows community providers and VA to better manage community care for Veterans. The system’s robust functionality facilitates reduced turnaround time for processing referrals, providing car, submitting claims, and receiving payment.
If the HSRM account has not been successfully logged into in 60+ days, the VA will deactivate the account. If this happens, you will need to email support@adarahomehealth.com to get the account activated again.
🔄 PROCESS
| Process Section | Description |
|---|---|
| HSRM Login Instructions | Access the HSRM portal. |
| Navigate the HSRM Portal | Navigate the Referral List and use search criteria. |
| Create a Task in HSRM | Create a Task to alert the VA that a document has been uploaded in HSRM. |
| Navigate the Task List and Download Documents | How to save documents uploaded by the VA. |
HSRM Login Instructions
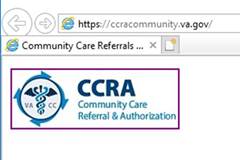
- Go to the https://ccracommunity.va.gov.
-
Click the Community Care Referral and Authorization (CCRA) icon in upper left corner of screen.
-
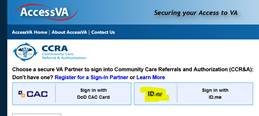
Click Sign in with ID.me.
-
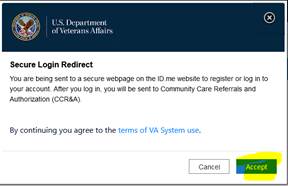
A new screen will load labeled Secure Login Redirect. Click Accept.
-
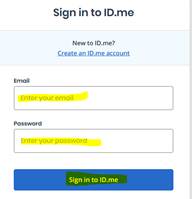
The sign-in screen will load; enter your email and password, and then click Sign In.
-
A confirmation will come up. Select a verification method (either Text me or Call me).
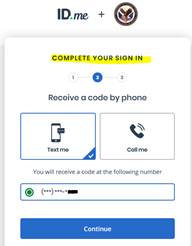
-
Enter the 6 digit code you received.
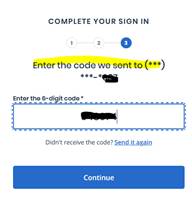
- Click Continue.
-
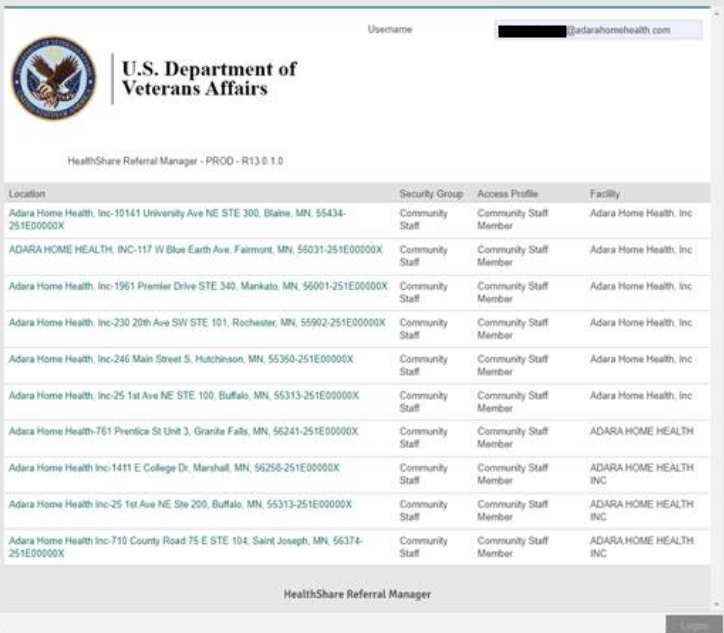
You will see a message stating “You are now returning to Veterans Affairs.” If you have access to more than one branch, the following screen will load. Select the branch which you would like to access.
Navigate the HSRM Portal
When logging into the system, the Referral List screen (also the home screen) appears. The Referral List screen shows all of the Facility’s referrals from VA and allows referrals to be sorted. All lists in HSRM can be sorted by column heading.
The default view lists referrals by highest priority and date added, making it easy to see which referrals need immediate attention. The Referral List may also be sorted by the User.
Sorting the Referral List allows users to view the information in any column in ascending or descending order. There are also advanced sort options available.
-
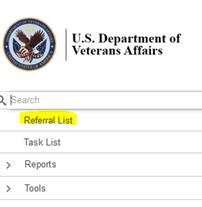
Navigate to the Referral List by selecting the Home icon or the Menu icon at the top left of the screen, then selecting Referral List on the menu.
-
The referral list will load.
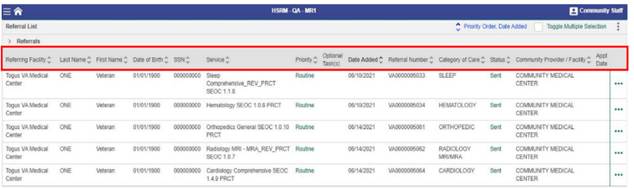
- Select a column heading to sort data in ascending order by that category.
- Select a second time to sort in descending order.
- Select it a third time to sort by the default (Priority Order and Date Added).
-
You may sort by last name alphabetically by clicking the Last Name column.

- Once you locate the relevant referral, click that row to access the Referral Details screen for the specific client.
- To use the advanced sort feature in the Referral List, by which you can filter the list by multiple criteria, do the following:
- At the top right of the Referral List screen, select the hyperlink on the Referral List to activate the Advanced Sort.
-
Click the Toggle Multiple Selection box.

-
The available options will appear. Both primary and secondary sort criteria can be selected. Select the Ascending or Descending icon associated with the specific criterion for the sort.
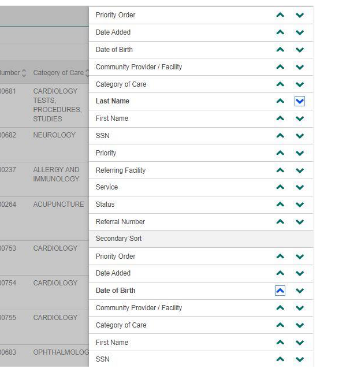
- The referrals will be sorted according to the sort criteria. Select the row of the relevant referral to view the Referral Details screen.
Create A Task
Creating a Task will alert the VA that a document has been uploaded.
-
In HSRM, search for and select Client Name/Chart.

-
Click the icon with three horizontal dots, located in the top righthand corner of the screen. The Patient Banner will display demographic information for the patient associated with the referral.

-
The Task Edit screen appears.
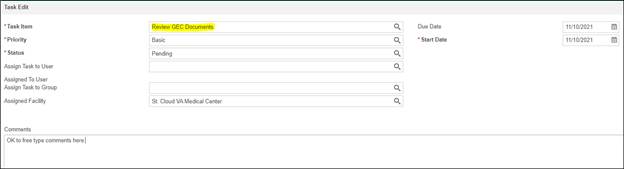
- Enter all appropriate information to create the task.
- Task Item: MUST say Review GEC documents.
- Priority: You may change this based on need of document to be reviewed.
- Status: Accept the default of Pending.
- Start Date: Auto-generates to the current day, which is the day you are sending the task.
- Comments: Can be added if needed.
-
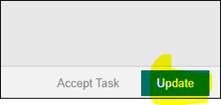
Click Update in the bottom right corner. This will save the task and the VA will see the notification on their end.
Navigate the Task List and Download Documents
The task list will show documents that have been sent back to the agency.
- Click on the 3 horizontal lines to the left of the Home icon.
- Select the Task List from the drop down menu.
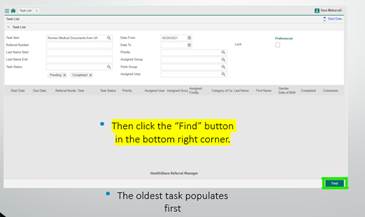
- Select Task Item type review and select “Review Medical Documents from VA” by clicking on the magnifying glass for the drop down choices.
-
Click the “Find” button in the bottom right corner.
-
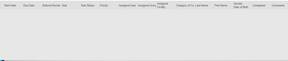
If the screen is grey and nothing populates, then you do not have new documents that were sent to the agency.
-
If you have new documents, they will be listed individually as tasks. Click on the task to view the new document.
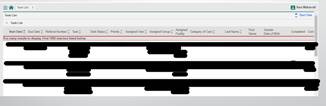
- When a task is opened, the task will be removed from the Task List.
-
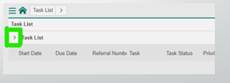
In order to find the task again, search for completed tasks. If you click on the > symbol to the left of the Task List sub-header, this will open an advanced search feature.
-
-
After selecting the task, the Documents page will open. Click on Open/Download Document.
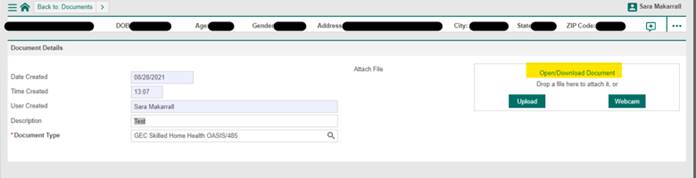
- The document will open in a new window, from which you can download and save the document.
📅 Effective: 09.23.2021 | 🛠️ Revised: 09.15.2026 | ✅ Approved: JFJ